Here is the feature for creating menus or bundles for a business. You’ll be able to create as many menus as you want.
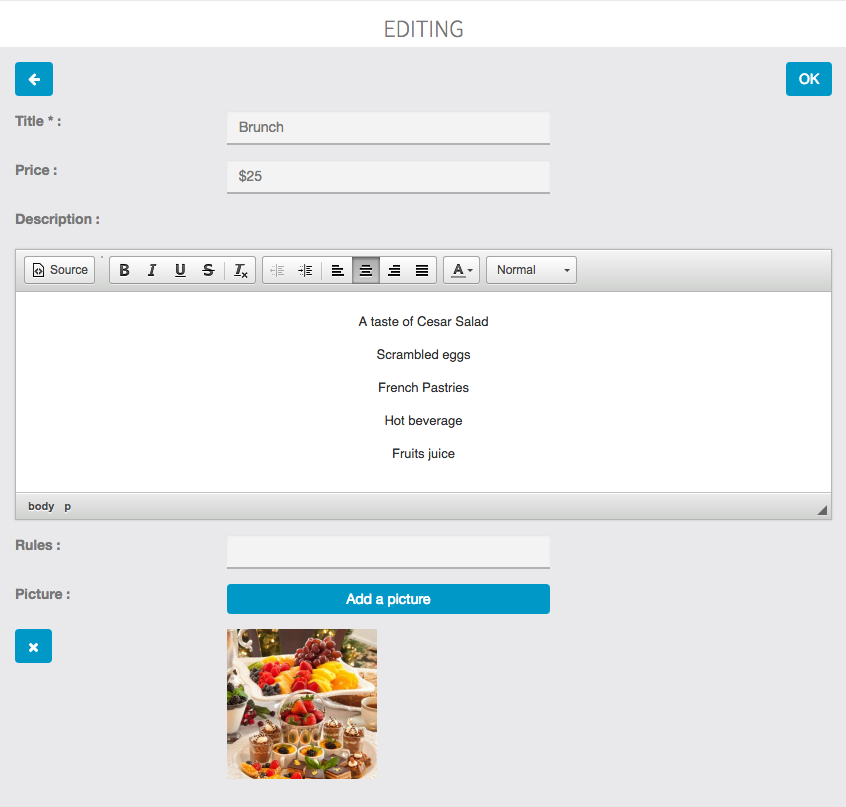
Necessary components:
- Menu name, for example: “Evening menu”, or “Family menu”
- Price. This field isn’t mandatory, as you can enter the price in the menu description
- Description: you’re going to use the text editor to create a menu. Look below to see how to create a beautiful menu.
- Conditions. This field isn’t mandatory. You would be able to use it to specify some conditions, for example “only available on mondays”.
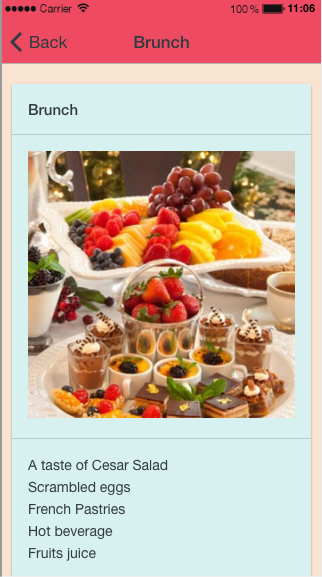
Here is what it looks like:
How to create a beautiful menu with the text editor:
Apply a style to your titles (“appetizers“, “dishes“, “desserts” for example) and center all your text. In order to do that, select your title in the text editor and click on ![]() in the text editor’s menu, then click on
in the text editor’s menu, then click on ![]()
and choose “title 1” or “title 2”. Your title will be formatted with the Lobster police (the same police that is used for the discount title in the Discount feature).
Press Enter. Enter your appetizers if the title is “appetizer”, press Enter between each item.
To enter a new title (“dishes” for example if you’ve just entered the appetizers), make a separation by pressing Enter and clicking on ![]() in the text editor menu. Then press Enter and reproduce the previous process.
in the text editor menu. Then press Enter and reproduce the previous process.
These modifications won’t be visible in the text editor nor in the app preview but will be well considered in the application.
Then, if you can, enter a picture for this menu and save all.
To enter a new menu, click on ![]() and repeat the above process.
and repeat the above process.
You can obtain this: