How to create an app with Your Application Builder?
We are going to show you how Your Application Builder works and go through the entire process of creating an application. For this tutorial, we set up Multi-apps on https://studio.playstore.gr where our builder is located.
First you need to login to the application builder. Go to https://studio.playstore.gr
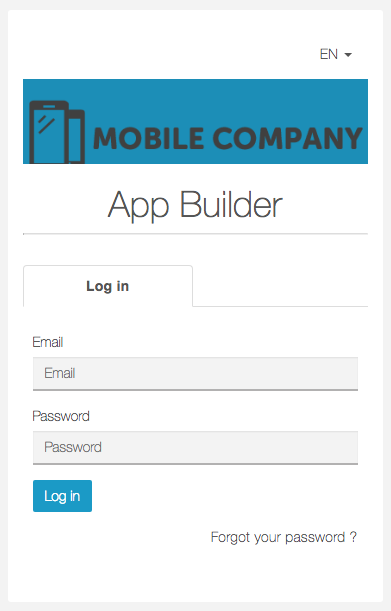
Enter your Email, your Password and click on ![]() You can now create your first application:
You can now create your first application:
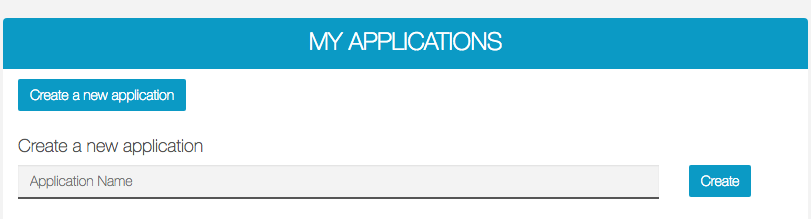
Enter an Application Name (here, we will use My Awesome App) and click on ![]() You reach this page:
You reach this page:
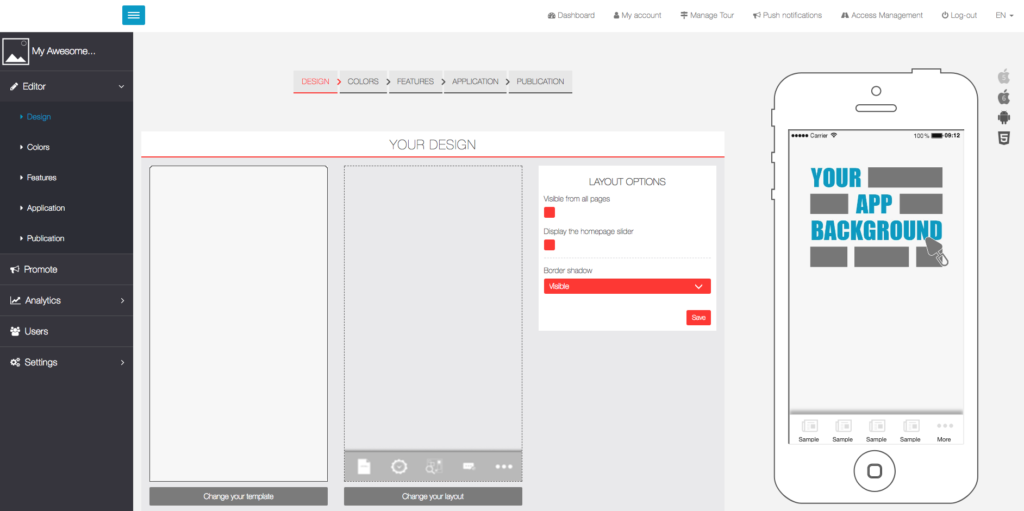
That’s what we call, the Editor. At the left, you have five menus. At the right, you have a phone simulator, called Overview. It’s not a real phone, so some features are disabled, but you will be able to see and test your changes.
Then, on the middle, you have five tabs:

Let’s see them one by one in details.
Design
First, you have the “Your Design” section:
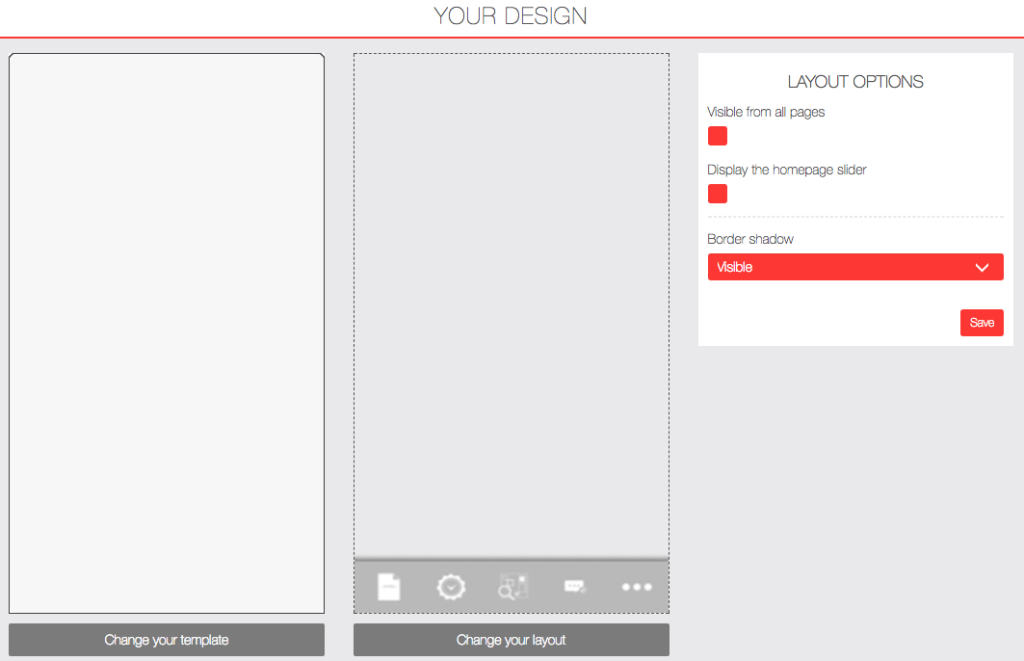
Here you can change your template:
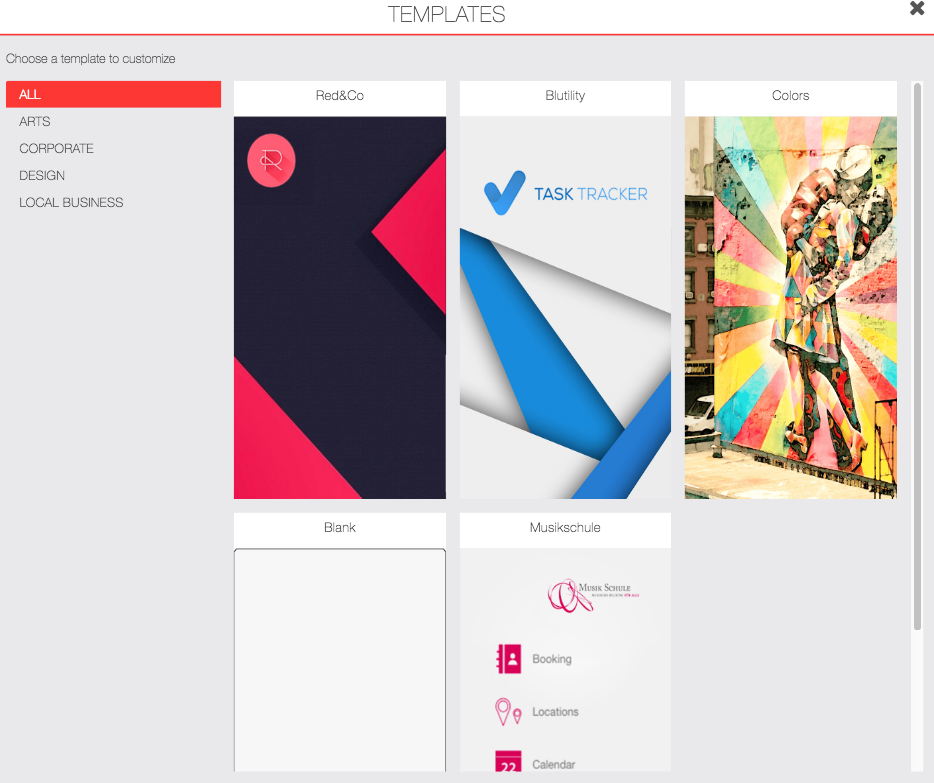
I will choose the Red&Co template. It will change the background of the app, some colors, the homepage images and fill the app with some features. If you want to fully customize your app, do not select a template.
You can also change the layout:
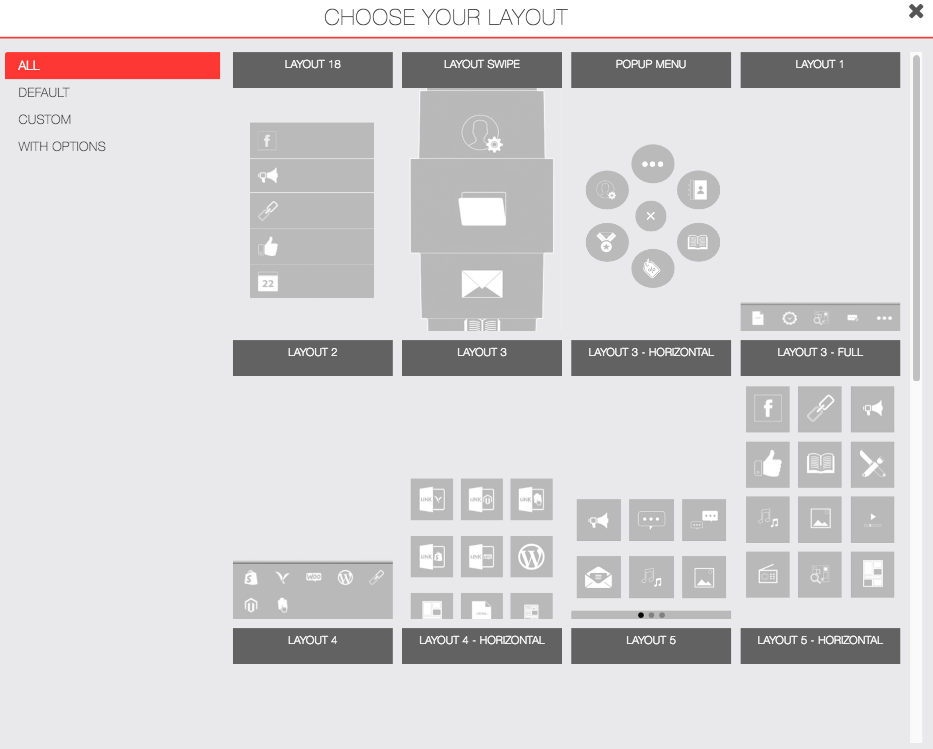
The layout is the way the menu will behave. For example, if you want your features displayed in a “grid” with round icons, then choose the Layout 4. For this tutorial, we will use the Layout 6.
Finally, you have “Layout Options“:
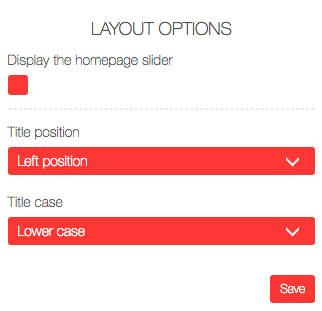
It’s customization options for the layout, so it will be different depending on the layout you chose. That’s it for the “Your design” section.
Below, you will have the “Choose your homepage image” section. If you want to have a custom homepage image, then you will have to upload it in six resolutions. Then, you have three options:
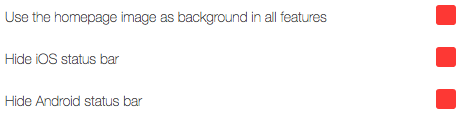
- “Use the homepage image as background in all features“: Self-explanatory
- “Hide iOS status bar“: Check this if you want to hide the status bar at the top of the device when using the app
- “Hide Android Status bar“: Check this if you want to hide the status bar at the top of the device when using the app
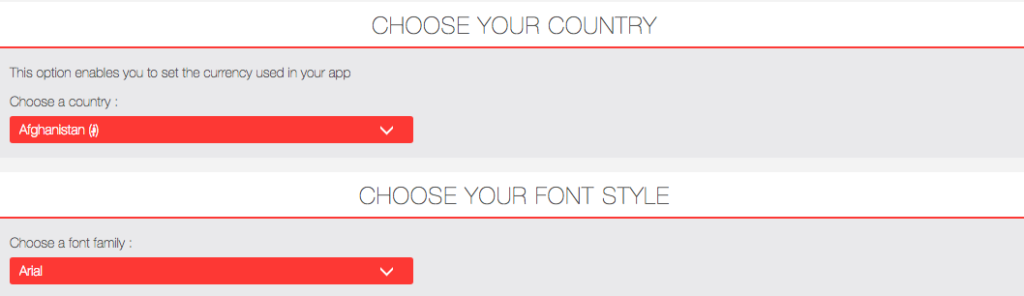
Finally, you will have to choose your currency and the font of your app:
Colors:
The Colors section is where you will customize every colors in your app. There is also a custom scss fields to modify the css in your app.
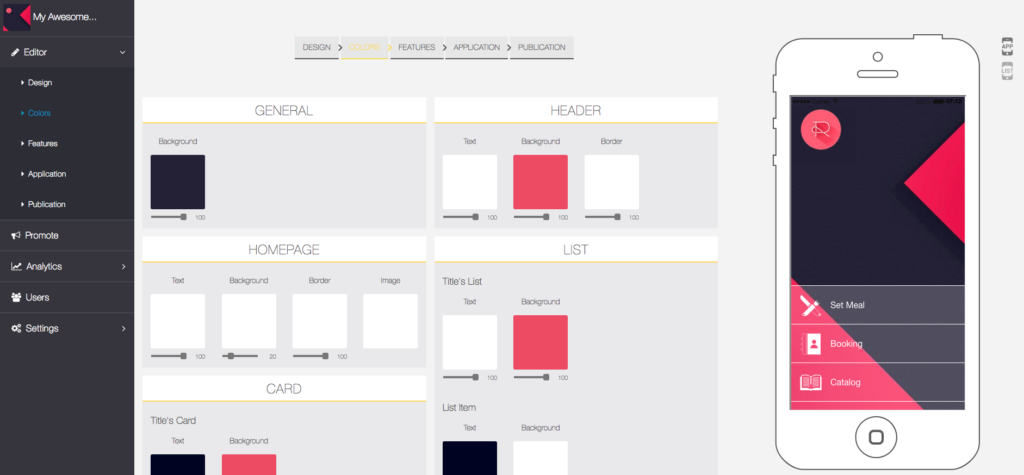
This menu is pretty straight forward, you click on the color, you change it, the scale at the bottom is the opacity (0 = transparent). Best school here is to play with it, you can see your changes live in the overview.
You can find out more about custom CSS here.
Features:
Here is the biggest part of the Editor, that’s where you will add/remove features on your app:
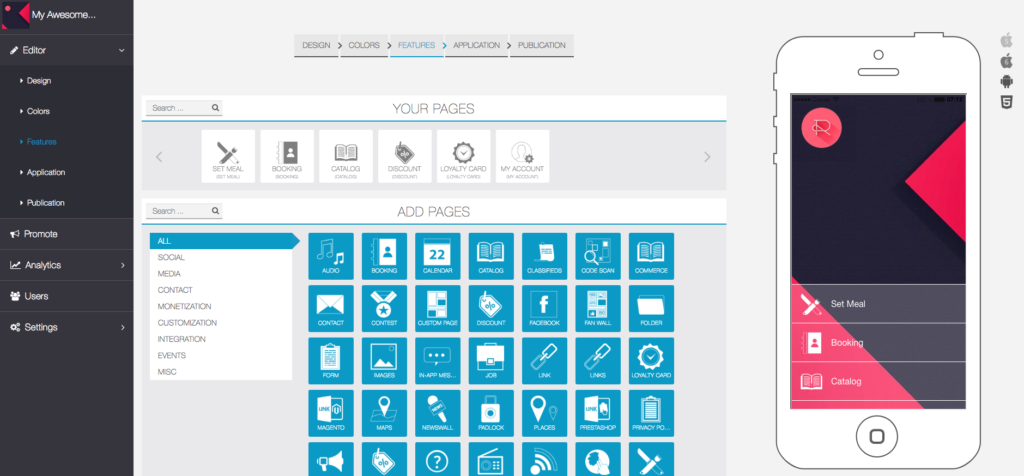
You have two sections, “Your pages” and “Add pages“:
- “Your pages” is where you will manage your features. You can modify the order, you can delete the features, or you can edit them.
- “Add pages” is where you will add features to your app by simply clicking on the feature you want.
That’s all there is to know on this section. You can find out more about features here
Application:
Here you have three sections: “Dashboard Icon“, “Android Push” and “Startup Image“:
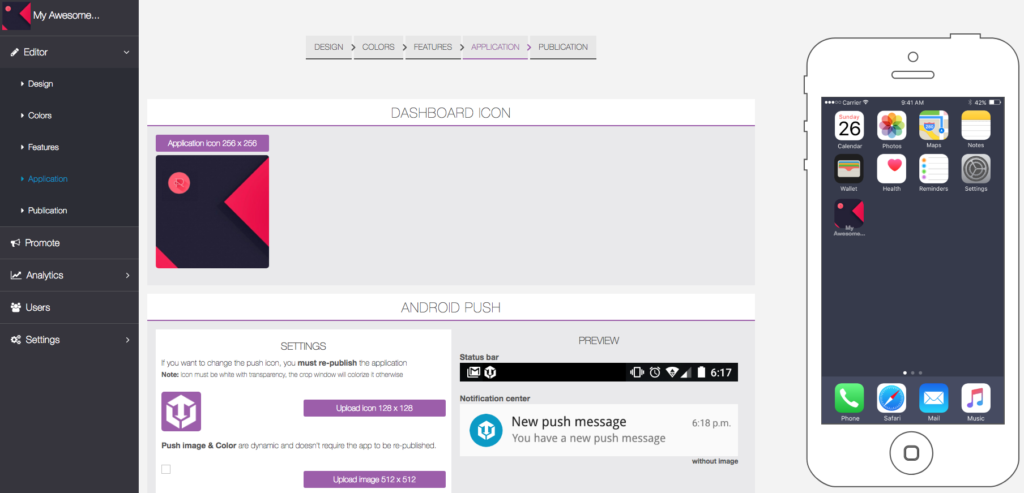
Dashboard Icon is the icon displayed on the home of your device.
Android Push:
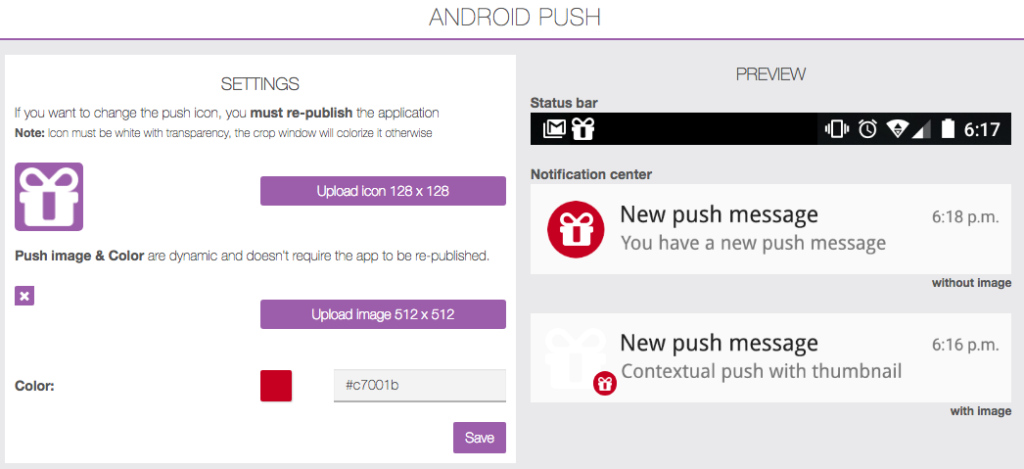
Here I wanted a custom push icon. I found a gift icon here, I uploaded it on both size (128 and 512), and I change the background color to red. On the right you have a live preview of your new push icon. More icons can also be found on https://www.flaticon.com
“Startup image” is where you will upload a custom startup image. You will be able to see it when you click on the app icon in the home of your device. It’s a loading screen, also called the SPLASH SCREEN.
Publication:
Finally, you have the Publication section, where everything related to publication is displayed. The screen content will differ depending on your permissions. Here is the Publication section when the user has access to the source codes:
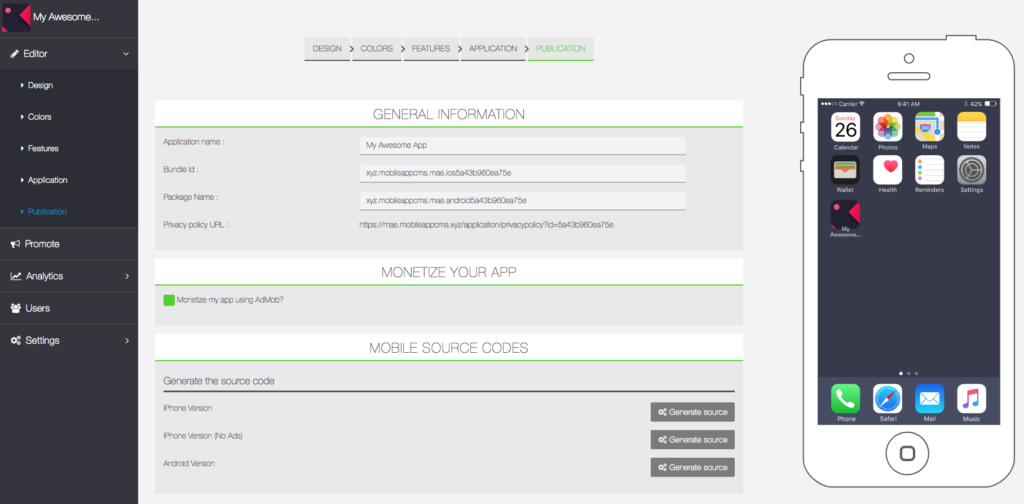
You can use Admob by checking the box “Monetize my app using AdMob?“. To generate the sources, click on “Generate source“. Now you can publish iOS and Android apps. And if available for your subscription the APK generator for easy generation android APK files ready to upload to Google Play.
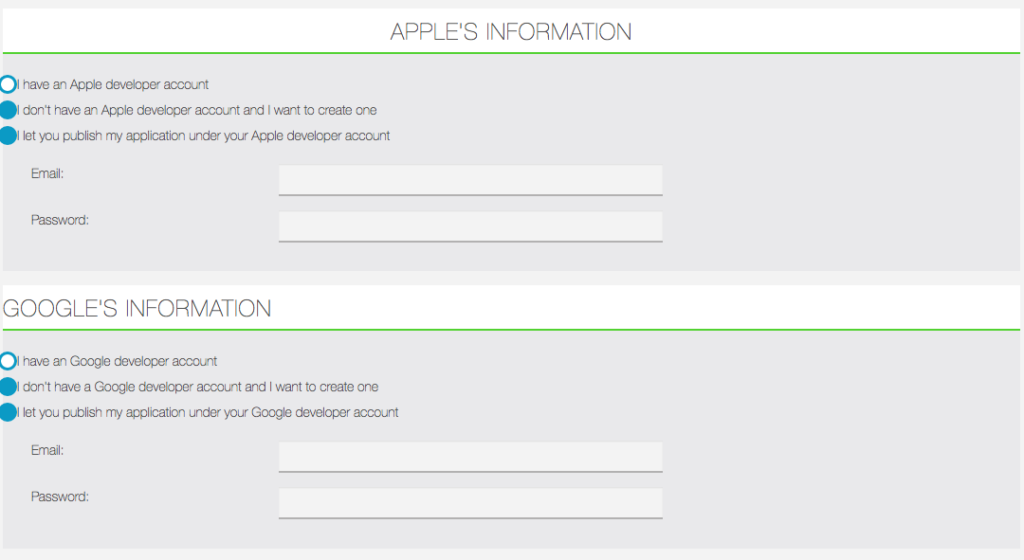
Here is the publication section when the user has not access to the sources:
In the “General information” tab, you have to fill five fields:
- “Application name“: It’s filled automatically, it’s the app name.
- “Description“: Give a description of your app, the clearer the better.
- “Keywords“: Think of it like hashtags, if your app is a jewelry shop, type “shop, jewelry”.
- “Main category“: Select the main category of your app.
- “Secondary category“: It’s optionnal, you can select a secondary category.
Stores information sections are self-explanatory, it will depend on your way to handle users publication.
Reminder: We do not publish your applications under our developer accounts. If you like us to publish under your developer accounts contact us for pricing.