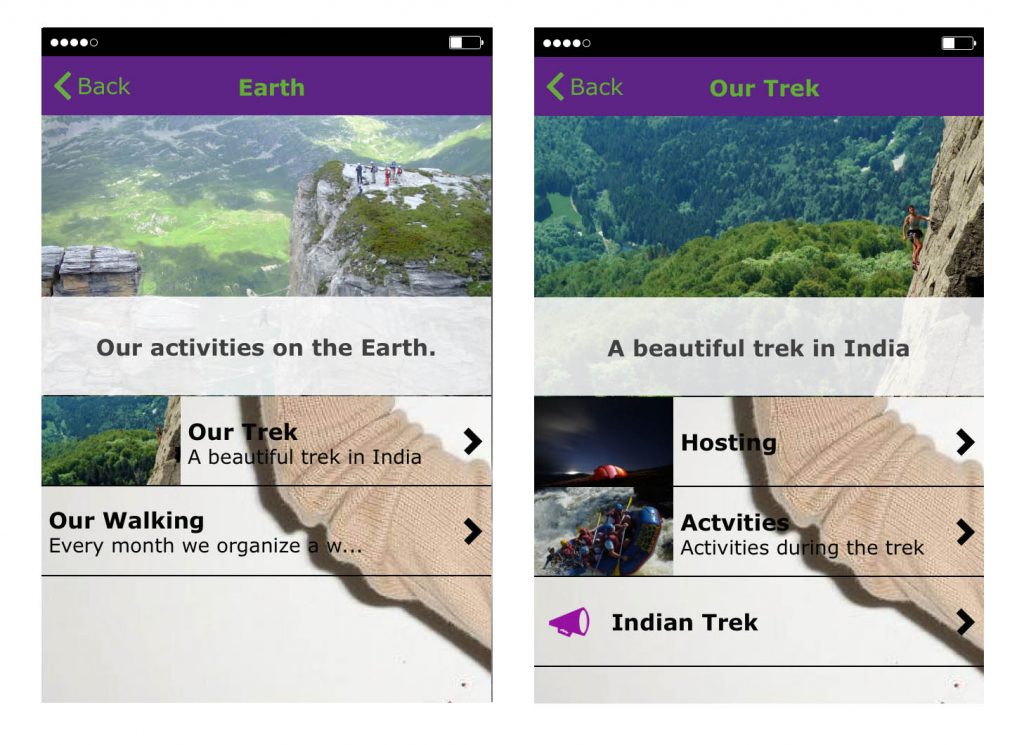
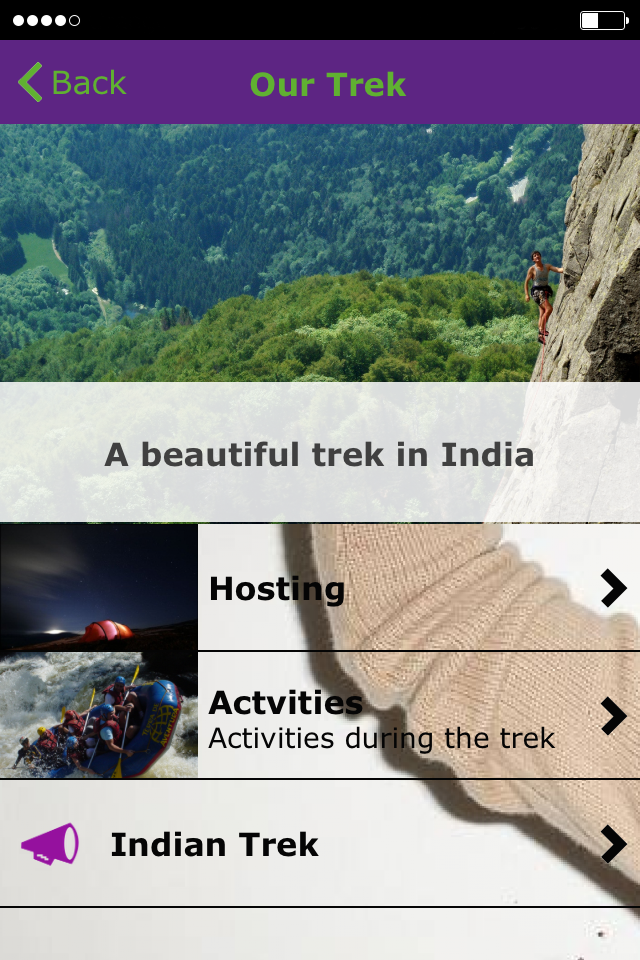
The Folders feature allows to create an arborescence inside your app.


The creation of a Folder
To create a folder, click on  in the “add pages” part. This appears:

First of all, you have to give a name to the root folder. To do this, click on + to add a folder. This appears:

For each folder, you can add a picture and a subtitle. Here is an example:

To create a second folder, you have to click on + and to fill all the cases (name of the folder, subtitle and picture). Do the same for all the folders you will create. If you want to change the name, the subtitle or the background image, you only have to click here.
![]()
The structure


Add pages to your Folders
Note: You can ONLY add to your folders the pages you have already created. The folders page only enables you to classify your pages.
Adding a page to one of your folders is very easy. First: select the folder in which you want to add a page and then click on the page you want to add. For example “Hosting”:
![]()
Then click on the page you want to add to this folder.

Here we are. We have added our first page to a folder. Do the same for each page you want to add. Here is an example of what you can create :

Editing your pages
You will see that, once you have added a page to a folder, this page will not appear anymore in the main feature slider. To manage the pages you have added on some folders, you have to open the Folders page. To do this, follow this process:- In the main feature slider click on the root folders icon you built/
– Select the folder or the subfolder in which the page you want to manage is.

– Click on the page you want to edit. For example, here we are going to click on “Custom Page”.

– Once you have clicked on the page, you can edit it.
– To go back to the root folder, click on the icon of the page you have just edited.

– If you want to go back to the main feature slider, click on “Main”

Removing a page from a Folder
Once you have classified a page into a folder, you still have the possibility to remove it from the folder.To do this click on the cross:

